Over the past several months, Google has enhanced the functionality within Google Merchant Center, enabling users to effectively track conversions from free shopping listings directly on the platform. This offering provides a valuable alternative for users who prefer not to employ Google Analytics for such tracking purposes. Consequently, you can now directly view and analyze conversions data via the performance reports available in Google Merchant Center.
I have seen the option for many months, and just ignored it as I mainly use Google Analytics, until Tony Zara mentioned it a few weeks ago, and decided, I should finally guide users how to set it up.
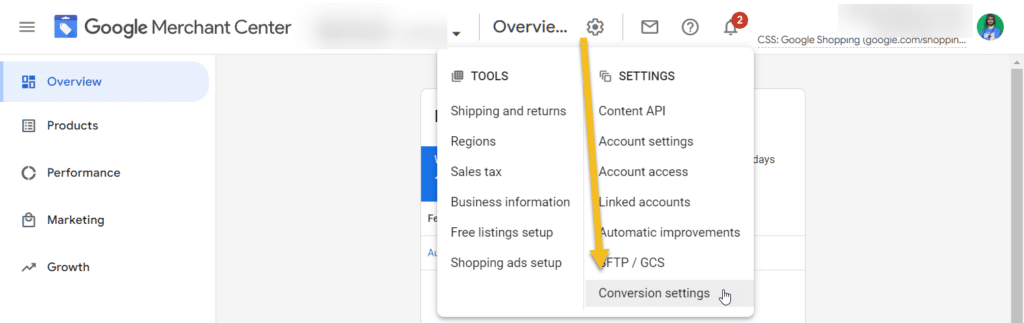
To enable the feature we want to first go to Google Merchant Center > top right corner > gear icon > conversion settings
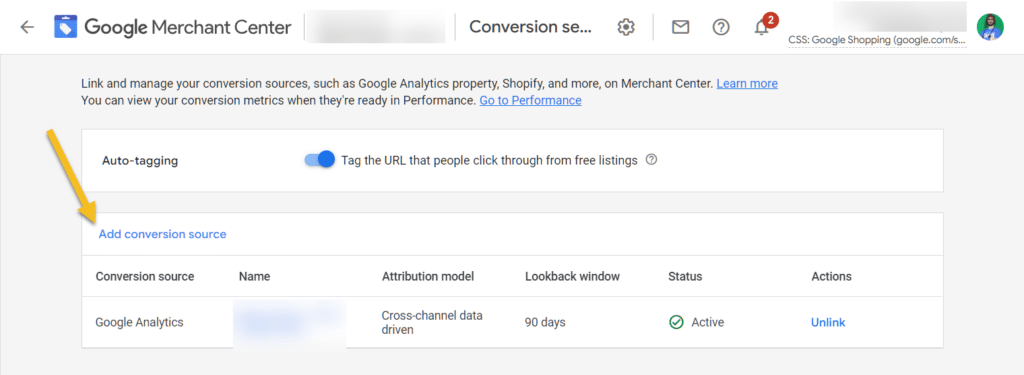
You can now click on Add conversion source
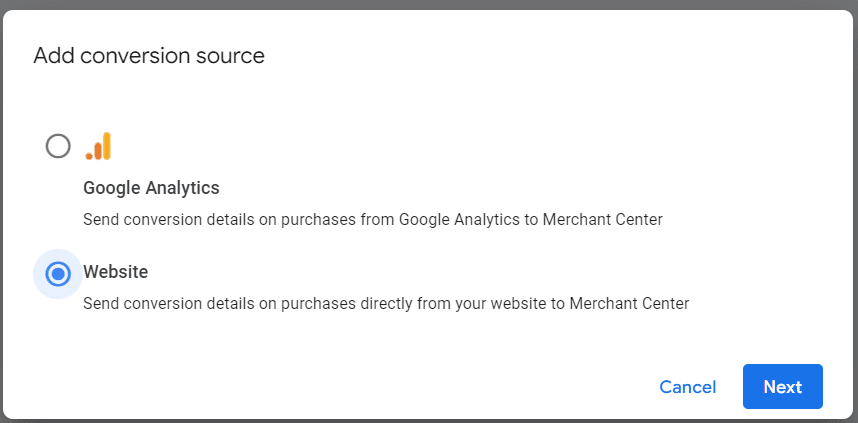
Choose Website and click on next
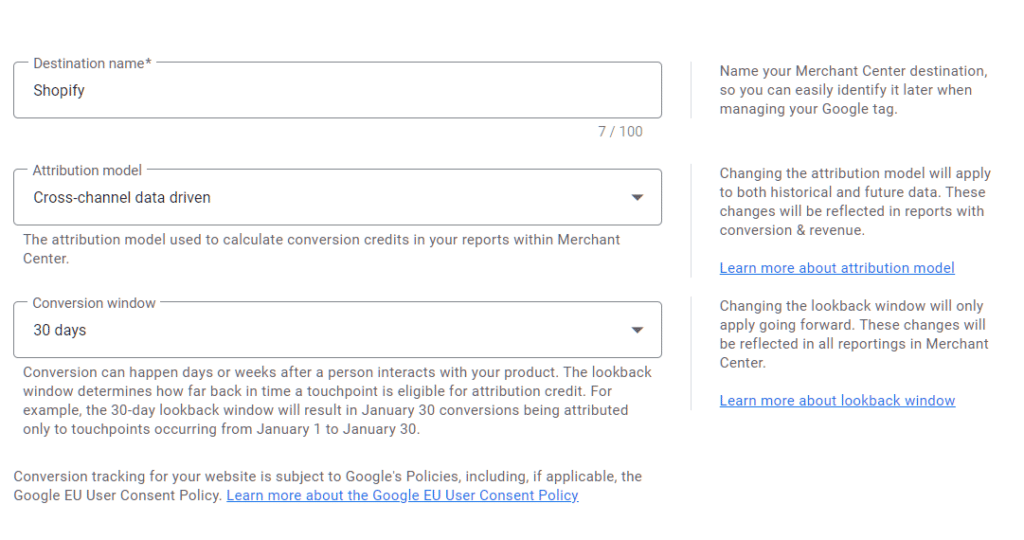
For the destination name, this can be anything for you to easily identify what conversion is what.
The attribution model, while Google recommends the last click, I personally prefer data driven, so that I can attribute every free click in the users journey.
The conversion window, is best to choose 30 days, unless you are selling products that usually have users take a longer time to convert.
Once you have chosen all your options choose continue.
You then have the option to use prebuilt solutions for Drupal, WordPress, Squarespace, Wix, etc.
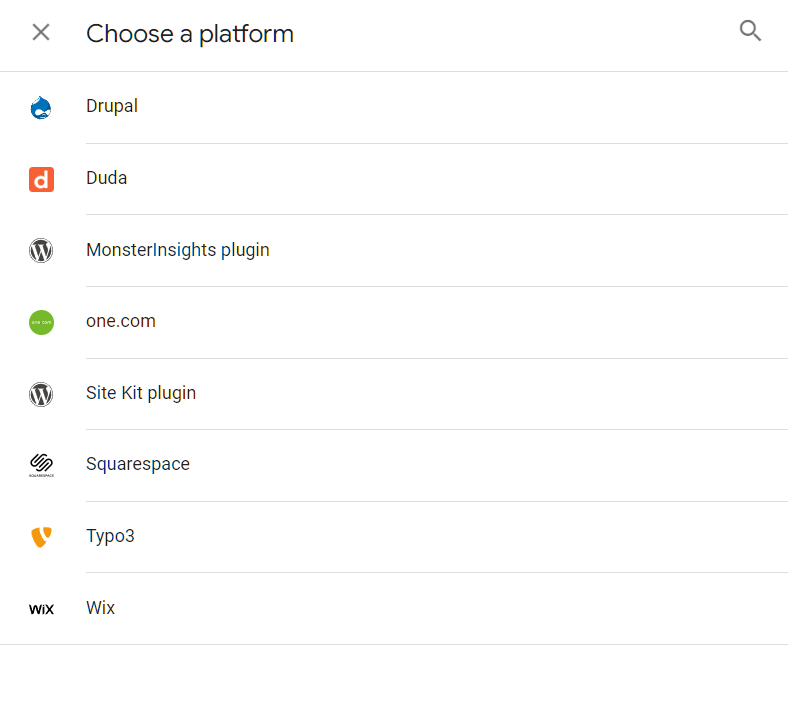
Or you can install the tag manually on every page.
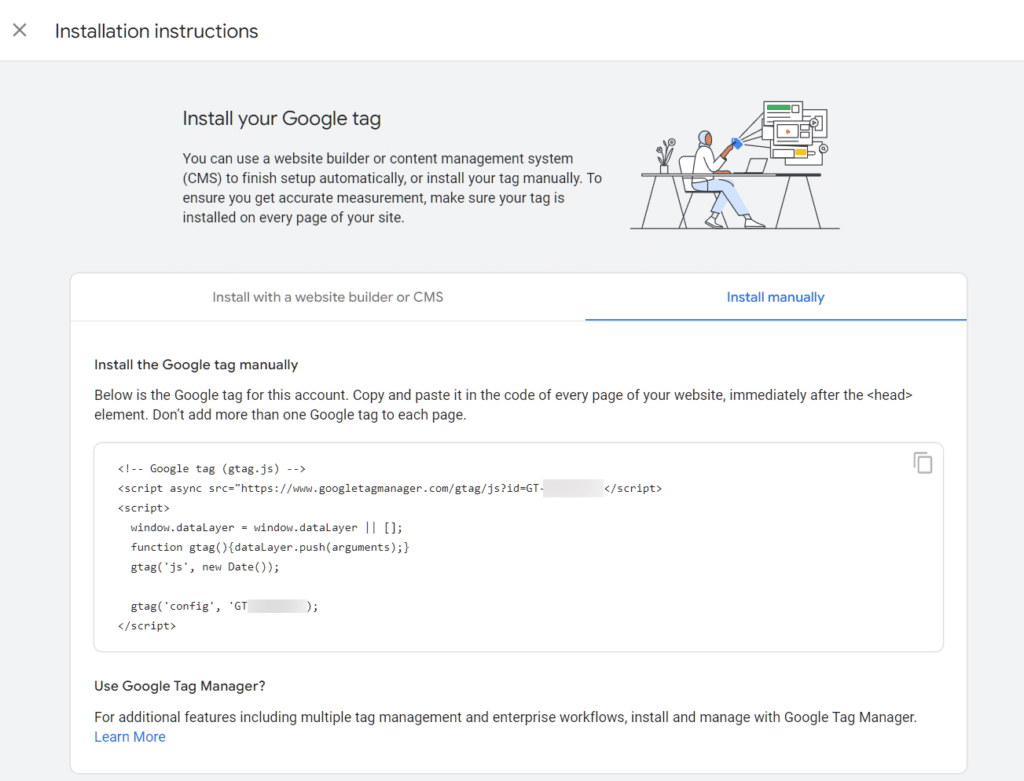
If you install the code manually, you must also add the conversion events. Below is an example: change the event values to your eCommerce platform coding.
<!--
  Note: In the following code sample, make sure to
  replace "TAG_ID" with your tag ID.
  Learn more: https://support.google.com/tagmanager/answer/12326985
-->
<!DOCTYPE html>
<html lang="en">
<head>
    <!-- Google tag (gtag.js) -->
    <script async src="https://www.googletagmanager.com/gtag/js?id=TAG_ID"></script>
    <script>
        window.dataLayer = window.dataLayer || [];
        function gtag(){dataLayer.push(arguments);}
        gtag('js', new Date());


        gtag('config', 'TAG_ID');
    </script>
</head>
<body>
    <div>This is where the purchase form would go</div>
    <button>Submit</button>
    <script>
    gtag("event", "purchase", {
        transaction_id: "T_12345_1",
        affiliation: "Google Merchandise Store",
        value: 25.42,
        tax: 4.90,
        shipping: 5.99,
        currency: "USD",
        coupon: "SUMMER_SALE",
        items: [
        // If someone purchases more than one item,
        // you can add those items to the items array
         {
          item_id: "SKU_12345",
          item_name: "Stan and Friends Tee",
          affiliation: "Google Merchandise Store",
          coupon: "SUMMER_FUN",
          discount: 2.22,
          index: 0,
          item_brand: "Google",
          item_category: "Apparel",
          item_category2: "Adult",
          item_category3: "Shirts",
          item_category4: "Crew",
          item_category5: "Short sleeve",
          item_list_id: "related_products",
          item_list_name: "Related Products",
          item_variant: "green",
          location_id: "ChIJIQBpAG2ahYAR_6128GcTUEo",
          price: 9.99,
          quantity: 1
        }]
    });
    </script>
</body>
</html>