Step 1) Create a Google Tag Manager Account
If you don’t already have a Google Tag Manager account, you can create one here: https://tagmanager.google.com/#/home
Then create a account from the dashboard for your website.
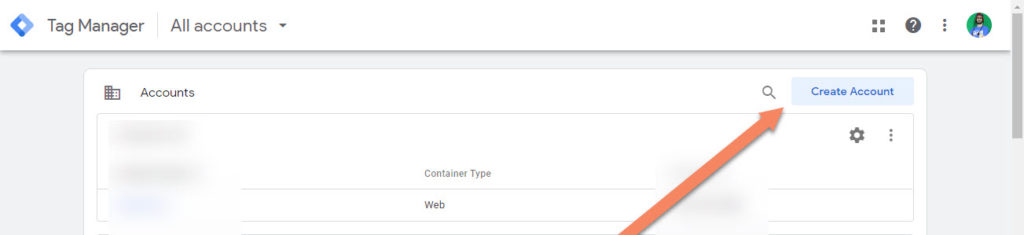
Now add your account and company name and choose website from the target platform choices. Click on create and agree to the terms and conditions.

Step 2) Installing the GTM Tag
Now you will see a popup simply close it. At top right corner you will find your container ID. Copy this to your clipboard.

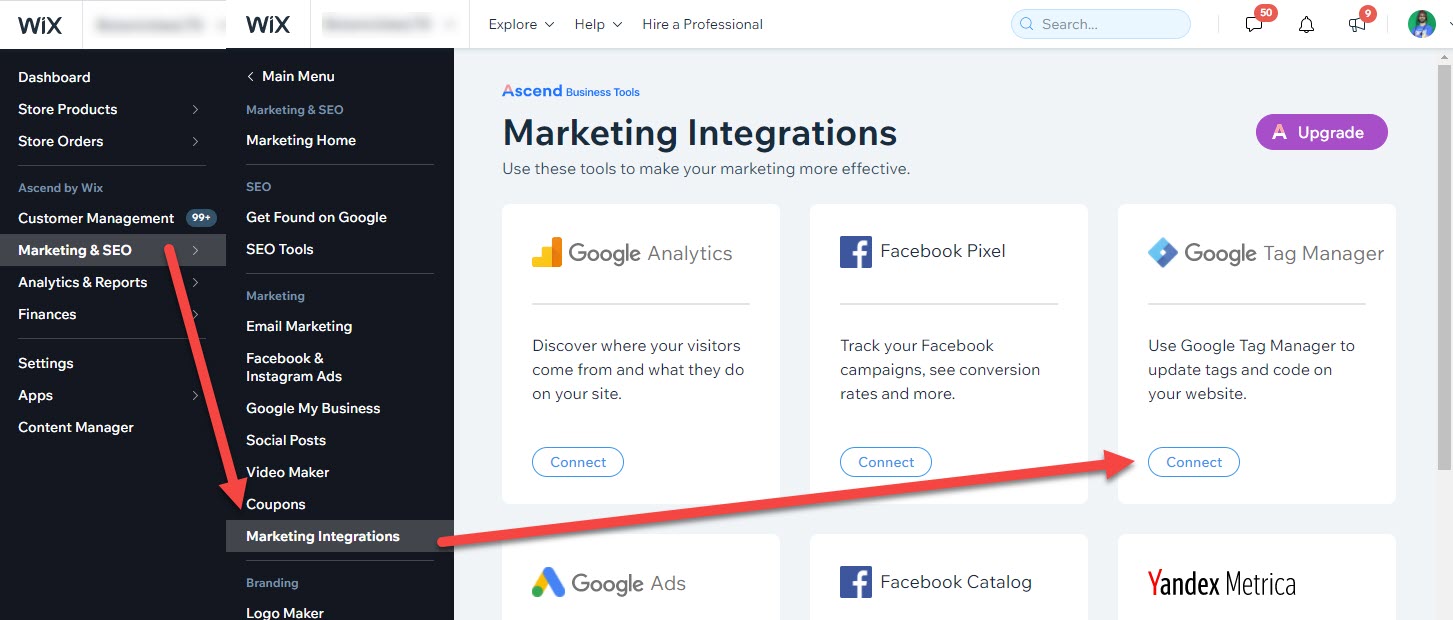
Go to WIX and navigate to Marketing & SEO > Marketing Integrations and click on Connect under Google Tag Manager.
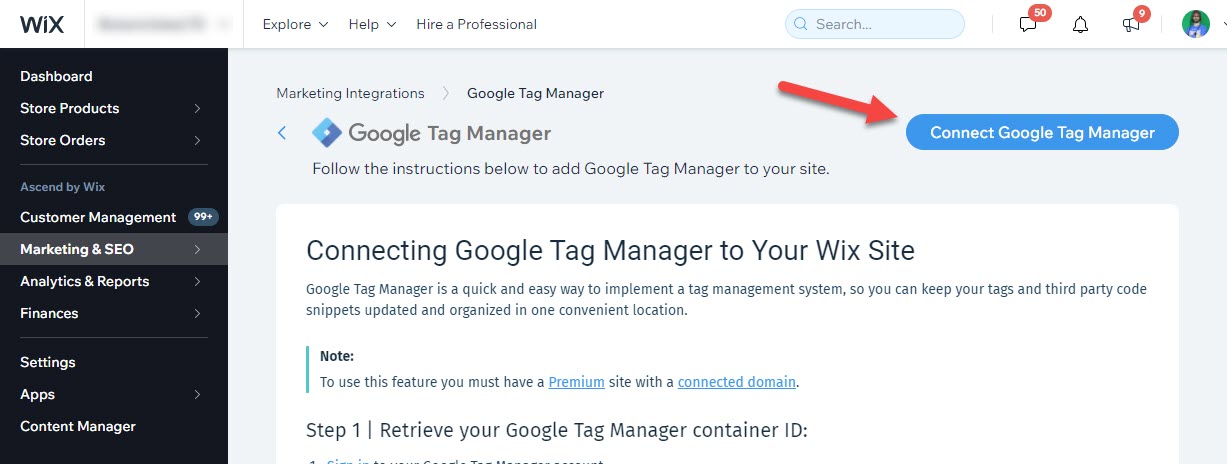
Click on Connect Tag Manger in the top right corner.
Now paste the GTM Tag in the popup (make sure to remove spaces) and click on save.

Step 3) Setting Up GTM
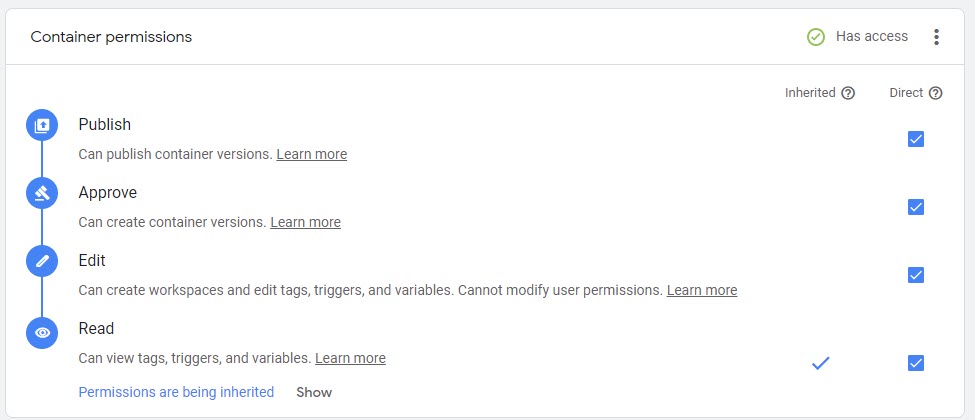
You need to be an admin of the account and have publish, approve and edit permissions.
Go to Admin > User Management > Click on your account > click on the account name at the bottom where it says publish > check all boxes.
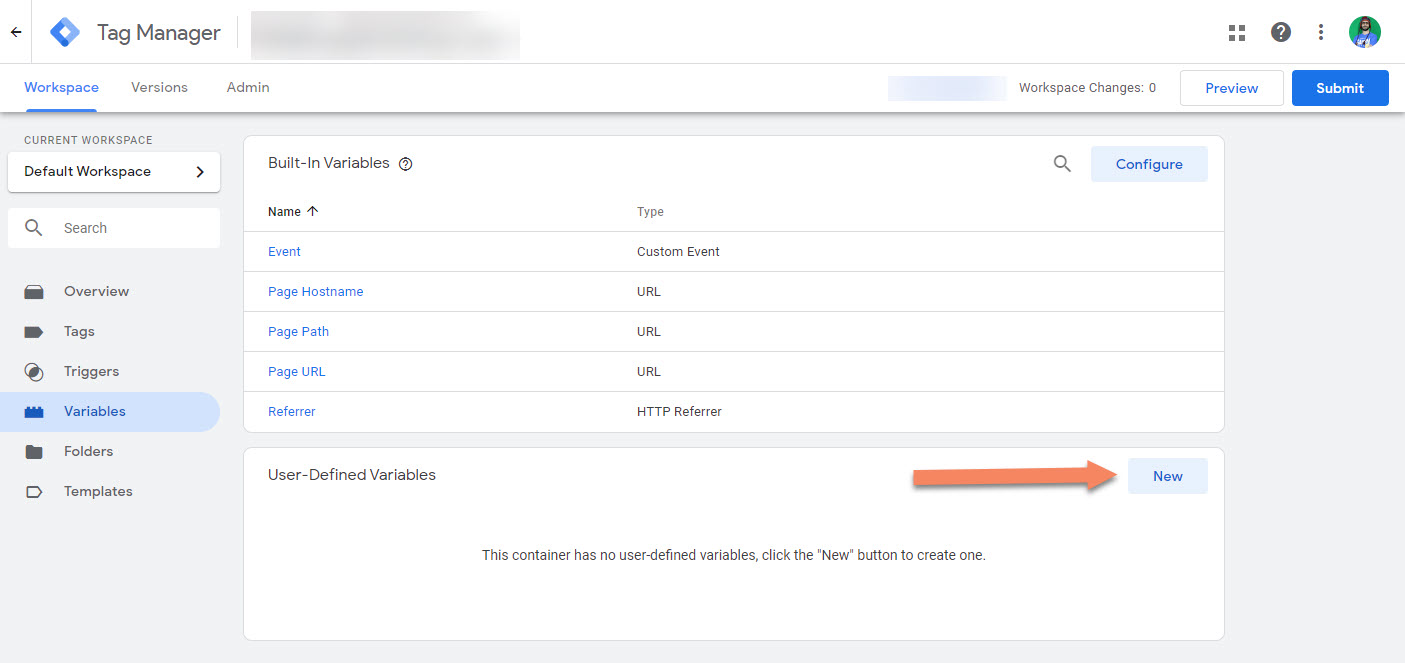
Let’s go back to Google Tag Manager and create a new variable. Variables > New
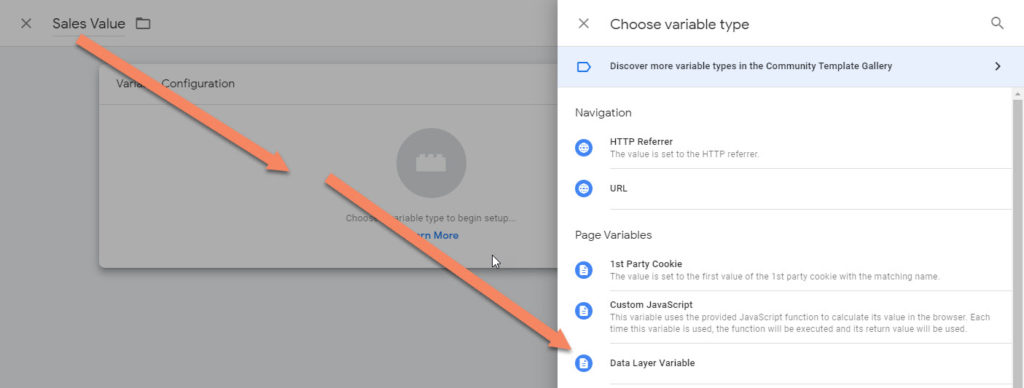
From here add the name Sales Value (can be anything you like), and click on Variable Configuration and choose Data Layer Variable
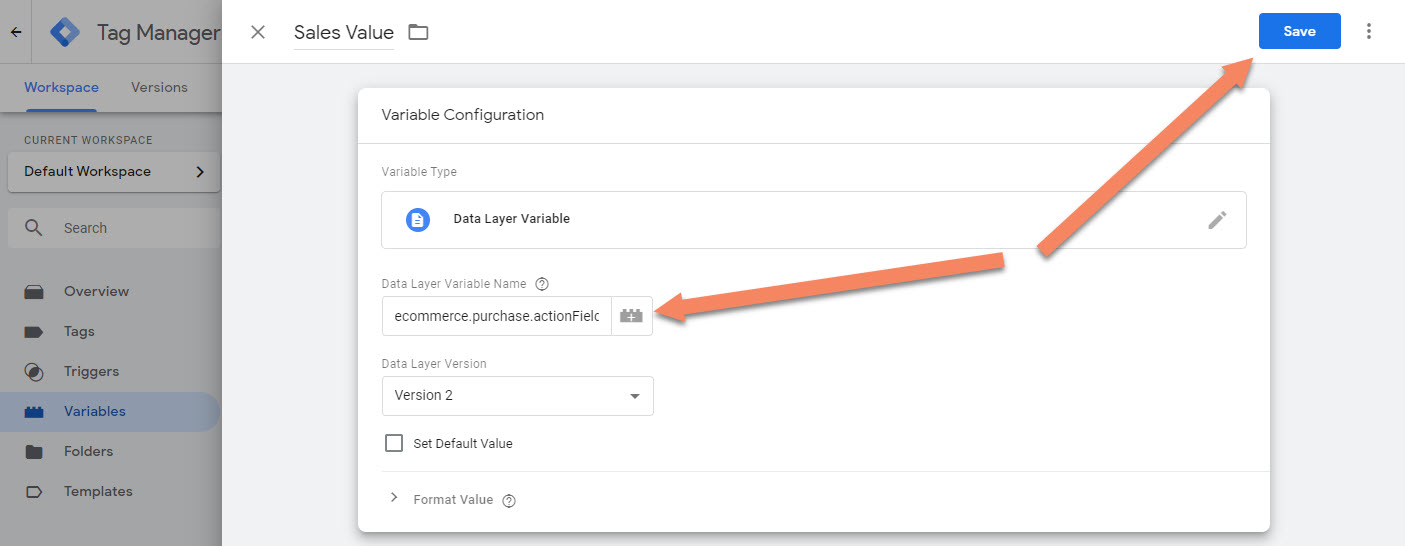
Add the value for Data Layer Variable Name ecommerce.purchase.actionField.revenue and click on save.
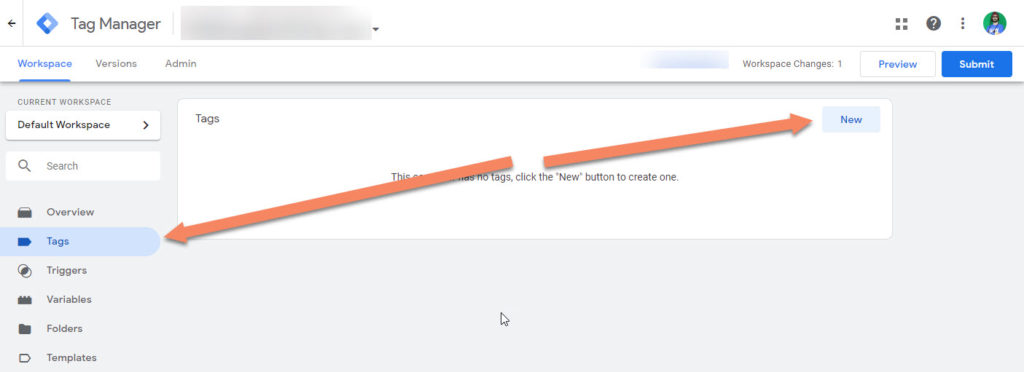
Let’s create a Tag by going to Tags > and click on New
Give the tag a name > click on Tag Configuration and choose Google Ads Conversion Tracking from the list.

Now go to Google Ads > top right corner > tools and settings > click on Conversions.
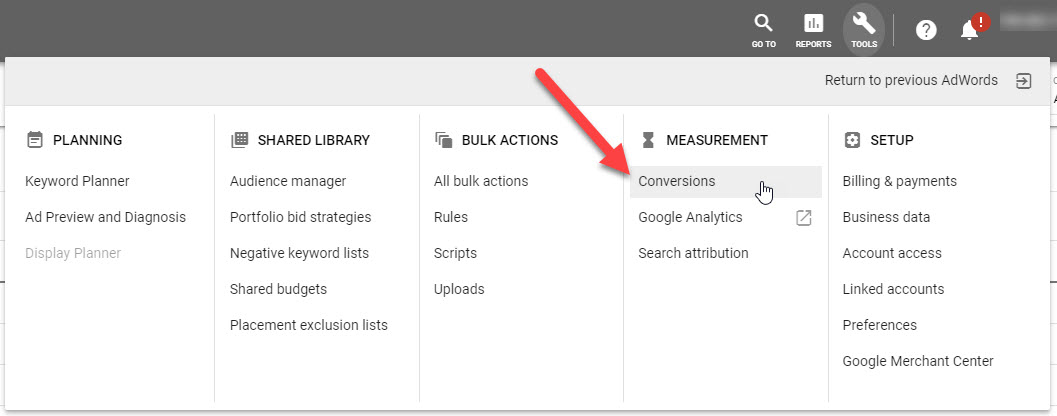
Click on the blue plus icon and choose website from the start tracking dashboard.
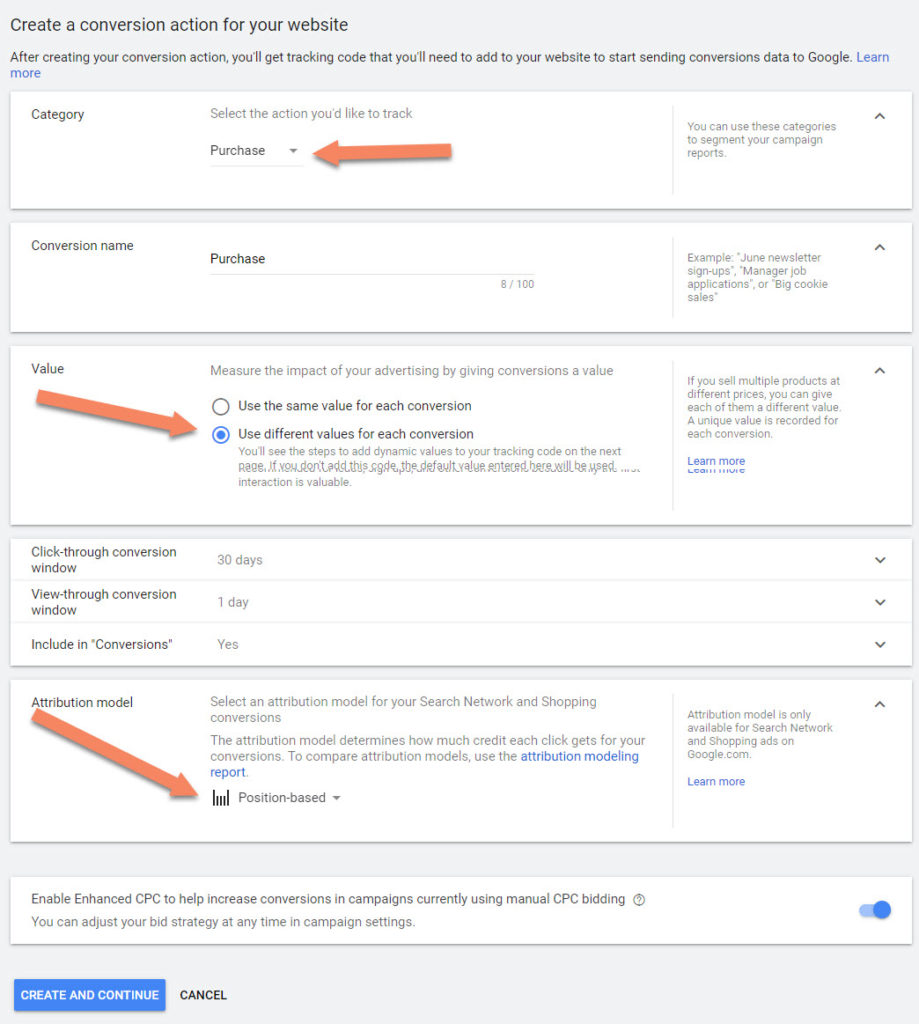
- Choose Purchase from the category drop down
- Choose Use different values for each conversion from the value
- Select Position-Based from the attribution model
- Click on Create and Continue
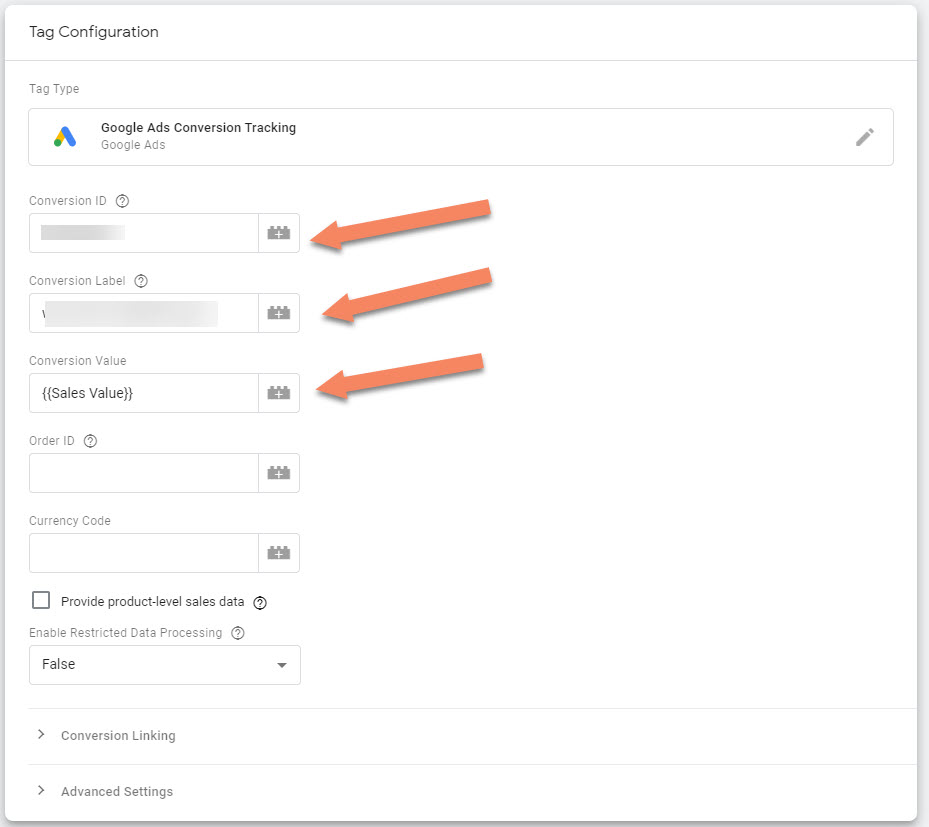
Click on Use Google Tag Manager
Copy the conversion ID and Label and paste it in Google Tag Manager corresponding fields. And in the conversion value field, select your variable. In my case this is {{Sales Value}}
Then in Google Ads click on continue, so that you finished the setup.
Verify your Conversion linker tag, simply create and save.
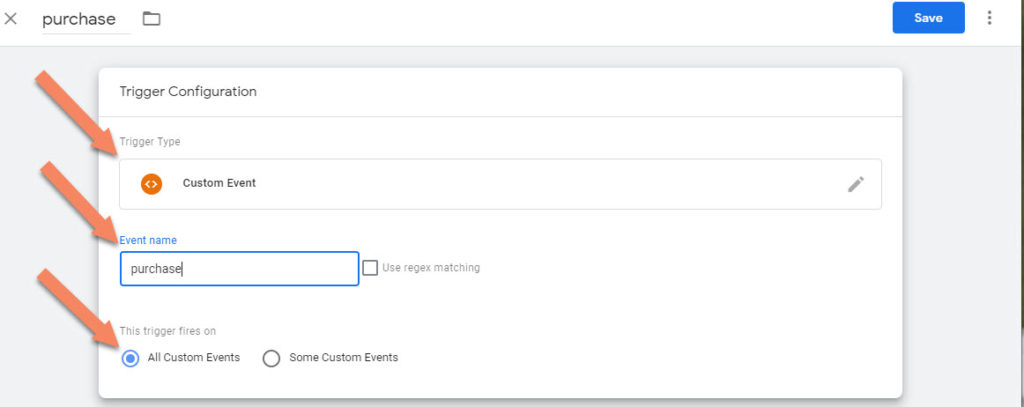
Click on the triggering box, you will now see all pages, instead of clicking on this, click on the plus icon in the top right corner.
Choose Custom Event and add the value purchase and click on save, then save again for the tag.
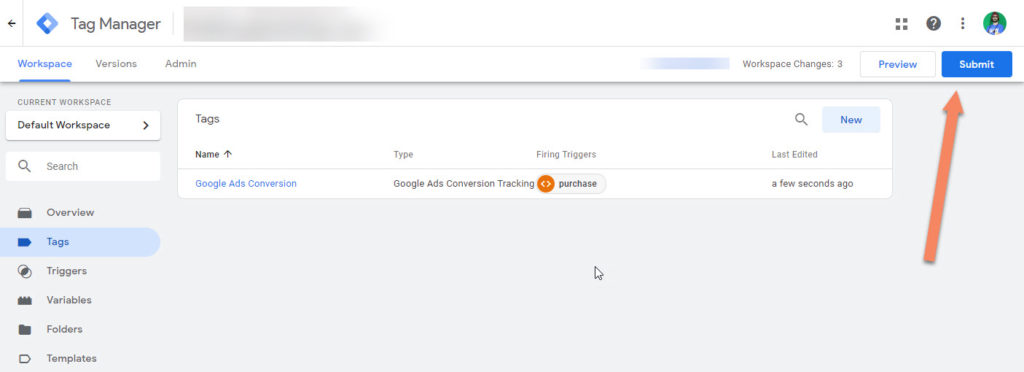
Now submit & publish the workspace and you are done.
ive done this and get the conversions but no value for ecommerce.purchase.actionField.revenue is coming in
Hello Tim, the sales value should be correct. You might have not tested it correctly, or you have not waited long enough for the values to appear. Or you have enabled static conversion value in your conversion settings in Google Ads. Or if you are testing a purchase that has no value, ie 0.00